
I've had more conversations about identity resilience in the past six months than in the previous five years combined. Something has shifted. Customers who used to treat Active Directory as "set it and forget it" infrastructure are now asking hard questions about recovery, integrity, and what happens when (not if) …
Read More
I passed the Nutanix Certified Professional - Cloud Native exam this past week. But that test wasn't a finish line. It's the starting point of what I'm treating as a yearlong journey. Getting here meant many hours deep in my lab, building and rebuilding clusters, deploying NKP over and over until the pieces finally …
Read More
If you haven't already, check out my post on Horizon architecture on AHV, which highlights the key architectural differences between running Horizon on ESXi versus AHV, and describes the lab environment used for testing. There are many ways to deploy and configure images and applications in a Horizon environment. Many …
Read More
Welcome to my first post of 2026! Now that Omnissa Horizon 8 on Nutanix AHV is fully GA as part of the Horizon 8 2512 release, I've been kicking the tires and working through deploying the stack on AHV. For those used to deploying and managing Horizon on ESXi, the workflow is slightly different on AHV, but in a good …
Read More
2025 was a busy year. Between customer workshops, webinars, and a renewed focus on content creation, I spent more time than ever sharing knowledge and working directly with customers. I'm proud of how much I was able to write and share this year. Here's a quick look back on 2025. On the Personal Side The end of 2024 …
Read More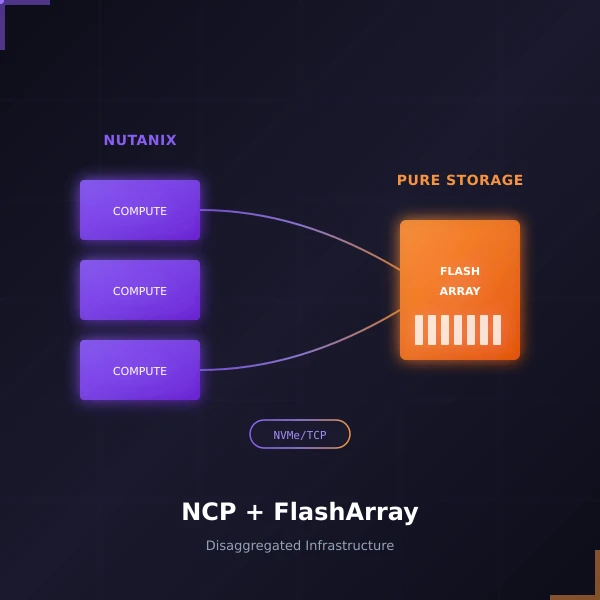
When Nutanix and Pure Storage announced their partnership at .NEXT 2025 in May, it turned heads across the industry. Two companies that had previously competed were now working together to deliver something customers have been asking for: the operational simplicity of Nutanix Cloud Infrastructure combined with the raw …
Read More
As I returned from a much-needed vacation in Punta Cana with my wife (our first real trip of 2025 where neither of us worked once), I received some exciting news while still on the beach. The NTC announcement came out during our trip, so I got to celebrate this 10-year milestone with my wife over mimosas. A year ago, I …
Read MoreNutanix Disaster Recovery Guide 2025: Series Conclusion
Dec 5, 2025 · 13 min read · disaster-recovery Nutanix business-continuity infrastructure risk-management ·
Over the past nine posts, I've journeyed from the fundamental question of "why disaster recovery matters" through the technical details of implementing comprehensive business continuity with Nutanix. We've covered the risks, the solutions, the configuration, the testing, the operational procedures, advanced automation, …
Read MoreMonitoring Nutanix DR: Proactive Protection Health
Even the best-designed DR strategy only works if your replication is healthy, protection policies execute successfully, and recovery points are current. This post focuses on monitoring replication health, tracking protection policy status, and catching issues proactively using Prism Central dashboards, NCC health …
Read More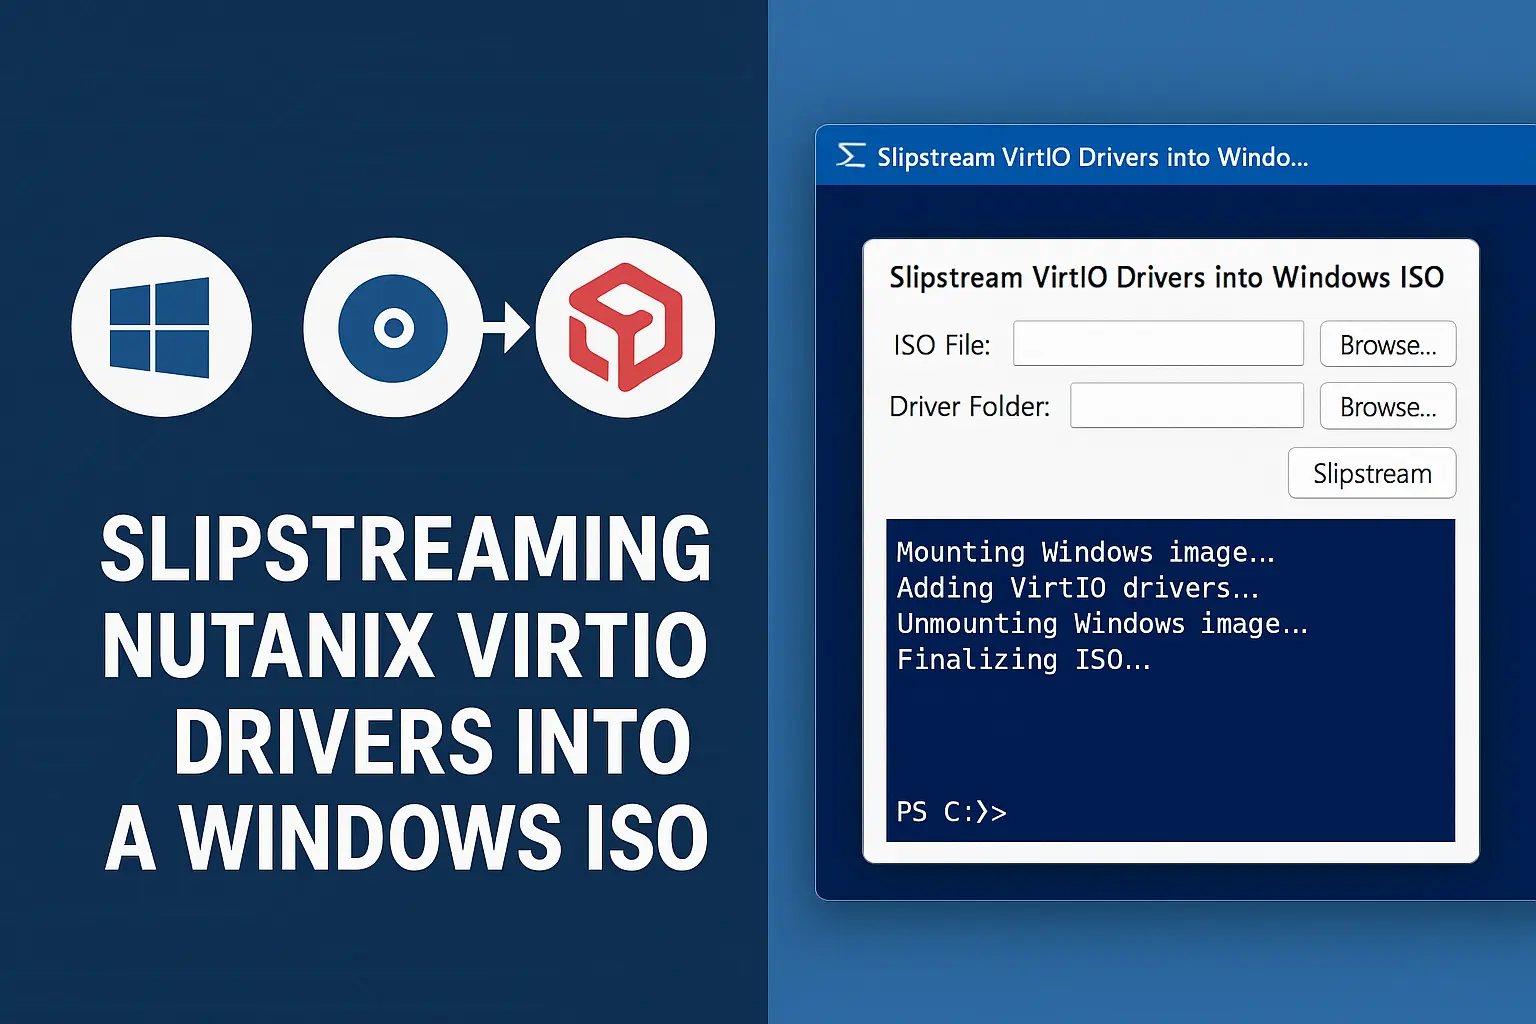
Deploying Windows VMs on Nutanix AHV requires VirtIO drivers that aren't included in the standard Windows installation media. This means manually loading drivers during setup or mounting driver ISOs after installation. I've built a PowerShell tool that simplifies this process by injecting the VirtIO drivers directly …
Read More