One Repo, Three Macs: Homebrew, GitHub, and Dotfiles
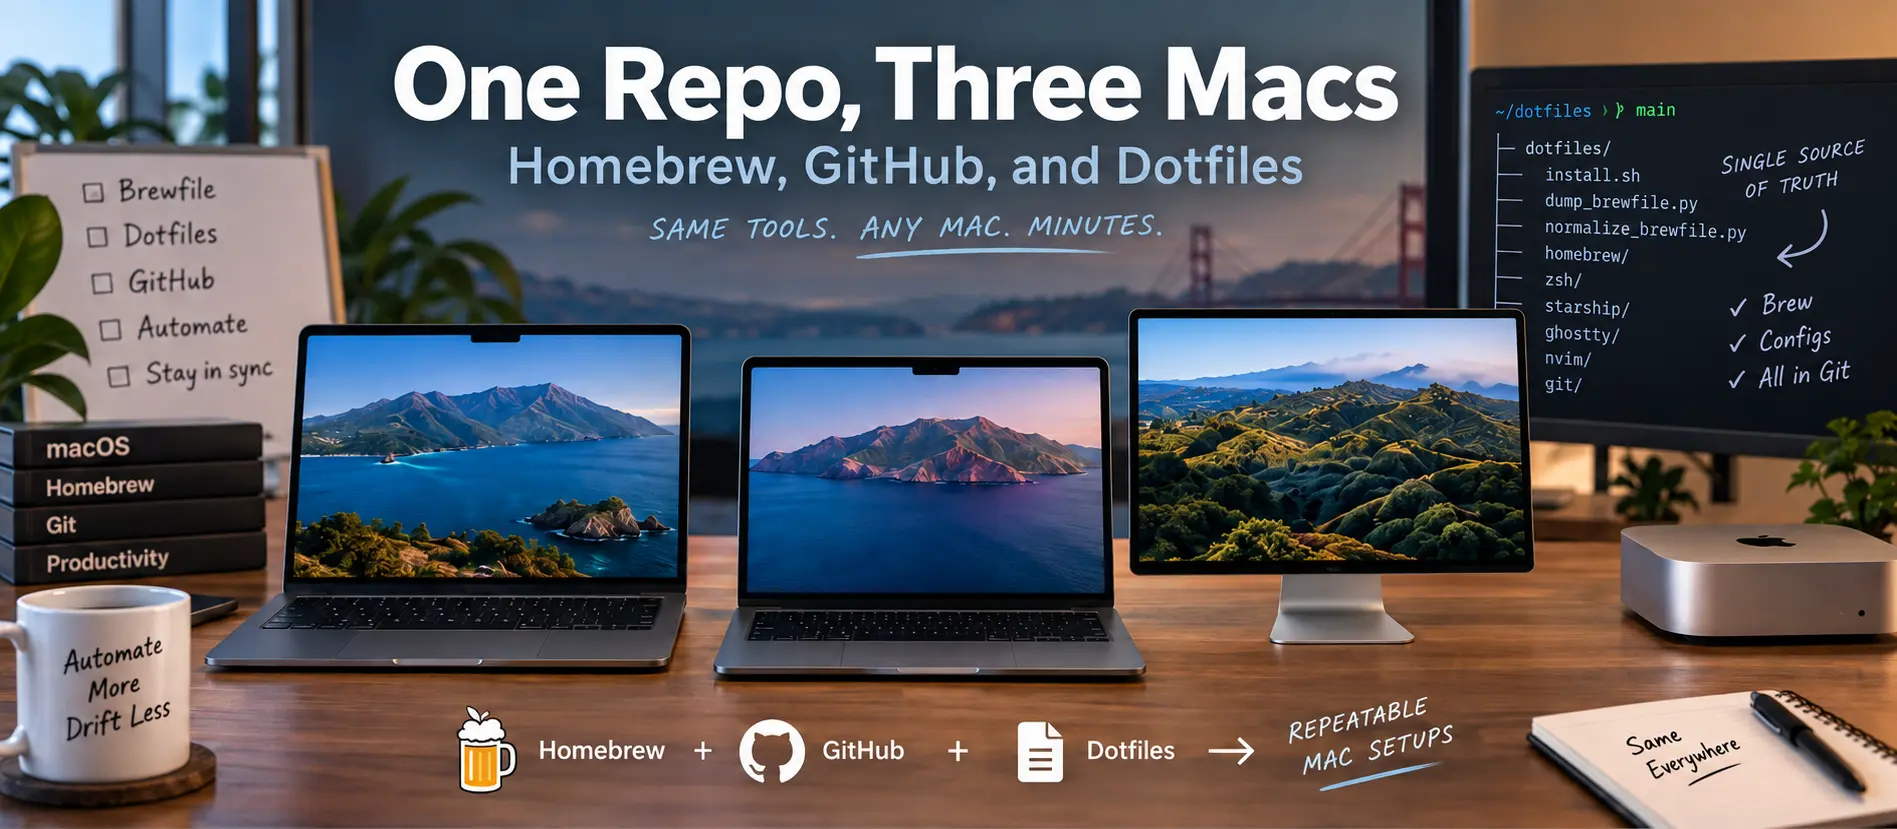
Overview
If you work across more than one Mac, you already know the feeling: a tool you rely on is missing on the other machine, your prompt looks different, and a config tweak you made last month only exists in one place. With macOS 27 Golden Gate out and my Macs moving over to it, it felt like the right time to write up how I avoid that drift. The payoff is simple. Any of my machines can be rebuilt or brought back in line in minutes, and the state of every Mac lives in a Git history I can read.
This post walks through the three pieces that make that work: Homebrew as the package layer, a dotfiles folder in a GitHub repo as the source of truth, and a small Python script I wrote to export each machine's Brewfile and clean it up into something a human can review.
A quick note before diving in: this is not meant to be the definitive guide to managing dotfiles. There are plenty of more elegant, purpose-built solutions out there, such as chezmoi, GNU Stow, yadm, a bare Git repo, or going all in with Nix and home-manager, and many of them handle templating, secrets, and per-machine differences far better than what I describe here. What follows is simply the workflow I have landed on that works for me. Take the pieces that are useful and leave the rest.
Why Bother With a Repeatable Environment
I run three Macs, which I call Workbook, Air, and Mini. They are close to identical in what they need, but not quite. Left alone, machines like that drift: a cask installed on one and forgotten on the others, a different Python version here, a terminal theme that only exists there.
Treating the environment like infrastructure fixes that the same way it does in the datacenter:
- Declared state beats memory. A Brewfile says what should be installed. I no longer have to remember.
- Git gives me history. Every install and removal shows up as a diff, so I can see when something changed and why.
- Rebuilds become boring. A fresh machine, or a clean install of a new macOS release, is a clone and a script away from being mine again.
Golden Gate is a good reminder of why this matters. It is the first macOS release that only runs on Apple silicon, and Apple has said it is the last release with general Rosetta support. If anything in your Brewfile still depends on Intel binaries, now is a good time to find out, and a single file listing everything you install makes that audit a lot easier.
The Repo Layout
My dotfiles live in a dotfiles folder inside a personal scripts repo on GitHub. The structure is intentionally flat:
 1dotfiles/
 2  install.sh              # bootstrap: Homebrew, packages, symlinks
 3  dump_brewfile.py        # export this machine's Brewfile (primary)
 4  dump_brewfile.sh        # shell fallback, same output
 5  normalize_brewfile.py   # categorize and clean a Brewfile
 6  init_dotfiles_repo.sh   # one-time scaffold for the folder
 7  homebrew/
 8    brewfile-workbook
 9    brewfile-air
10    brewfile-mini
11  zsh/zshrc
12  starship/starship.toml
13  ghostty/config
14  ghostty/themes/
15  nvim/init.lua
16  git/gitconfig
A few decisions are worth calling out:
- One Brewfile per machine. Separate files let each Mac differ where it needs to, while the categorized layout (more on that below) makes the differences easy to compare.
- Configs are symlinked, not copied. Editing
~/.zshrcis editing the file in the repo, so there is nothing to sync back. - Local overrides stay out of Git. The
.gitignoreexcludeszsh/zshrc.localfor anything machine-specific or sensitive, along with the usual.DS_Storenoise.
Bootstrapping a Mac With install.sh
The install script is what I run on a new machine, or after a clean OS install. It does five things in order.
Step 1: Install Homebrew if it is missing. The script checks the architecture to pick the right prefix (/opt/homebrew on Apple silicon), runs the official installer when brew is not found, and loads brew shellenv into the current shell.
Step 2: Pick the machine. It prompts for Workbook, Air, or Mini, or reads MACHINE_TYPE from the environment so it can run unattended:
1MACHINE_TYPE=air ./install.sh
Step 3: Install everything in that machine's Brewfile. This is one command doing the heavy lifting:
1brew update
2brew bundle --file="$DOTFILES/homebrew/brewfile-air"
brew bundle handles formulae, casks, taps, Mac App Store apps through mas, VS Code extensions, and Go tools from the same file. On my machines that is roughly 40 formulae, 55 to 60 casks, 16 or so App Store apps, and 23 VS Code extensions.
Step 4: Set up shell integrations. If fzf is installed, the script runs its installer for Zsh key bindings and completions without touching my rc file, since that file is already managed by the repo.
Step 5: Link the configs. A small helper backs up any real file that is in the way (renaming it to .backup) and then symlinks the repo version into place:
 1link_file() {
 2  local source="$1"
 3  local target="$2"
 4  [ -e "$source" ] || { echo "Skipping missing source: $source"; return; }
 5  backup_if_exists "$target"
 6  ln -sfn "$source" "$target"
 7}
 8
 9link_file "$DOTFILES/zsh/zshrc" "$HOME/.zshrc"
10link_file "$DOTFILES/starship/starship.toml" "$HOME/.config/starship.toml"
11link_file "$DOTFILES/ghostty/config" "$HOME/.config/ghostty/config"
12link_file "$DOTFILES/git/gitconfig" "$HOME/.gitconfig"
There is also a small repair step for Neovim. A stray sudo nvim can leave Neovim's swap, backup, and undo folders owned by root, which produces an "Unable to open swap file" error on the next launch. The script checks ownership on those folders and recreates them if needed.
The Problem With brew bundle dump
Going the other direction, from an existing machine back to a Brewfile, is where things get messy. brew bundle dump is great at capturing state, but the output is organized by entry type and then alphabetically. That means azure-cli sits next to bat, and 1password sits next to airbuddy. It is accurate, but it is not something you want to review in a diff, and comparing three machines side by side is painful.
So I wrote a Python script to do the dump and then reshape the result into something I would want to read.
Exporting and Cleaning Brewfiles With Python
The workflow is split into two files. dump_brewfile.py is the entry point, and normalize_brewfile.py holds the categorization logic so the shell fallback can reuse it and produce identical output.
Running it looks like this:
1./dump_brewfile.py
2# or, non-interactively
3MACHINE_TYPE=mini ./dump_brewfile.py
Under the hood, the dump script:
- Finds the
brewbinary, falling back to the standard Apple silicon or Intel prefix if it is not on thePATH. - Resolves the machine from
MACHINE_TYPEor a prompt. - Runs
brew bundle dump --forceinto that machine's Brewfile. - Calls
normalize()to regroup the file. - Prepends a header with the Mac's
LocalHostNameand the dump date. - Prints the exact
git diffcommand to review what changed.
The header is small but useful. When I open a Brewfile, I can see at a glance which machine it came from and how stale it is:
1# ------------------------------------------------------------
2# Machine: MD-Air
3# Dumped:  2026-07-31
4# ------------------------------------------------------------
How the Categorization Works
The heart of the normalizer is a single, ordered list of categories. Formulae and casks share one taxonomy, grouped by what they are for rather than how they are installed, so a section like Networking and Lab Tools can hold both a brew and a cask entry:
 1CATEGORIES = [
 2    ("Core CLI Tools", {"bat", "eza", "fzf", "gh", "git", "neovim", ...}),
 3    ("Shell Enhancements", {"zsh-autosuggestions", "zsh-syntax-highlighting", ...}),
 4    ("Languages, Runtimes & Package Tools", {"go", "node", "python@3.13", "uv", ...}),
 5    ("Cloud, Infrastructure, and Automation", {"ansible", "terraform", "opentofu", ...}),
 6    ("Networking and Lab Tools", {"iperf3", "ipcalc", "ipmitool", ...}),
 7    ("AI & Coding Assistants", {"claude", "claude-code", "codex", ...}),
 8    ("macOS Utilities", {"bartender", "cleanshot", "hazel", "istat-menus", ...}),
 9    # ...
10]
The order of that list is the order the sections appear in the file, and entries are sorted alphabetically within each section. The rest of the file follows a fixed layout:
- Taps first. Alphabetical, at the top where
brew bundleneeds them. - Fonts get their own section automatically. Anything starting with
font-is split out by prefix, so I never have to list fonts by name. - Go tools follow the languages section.
goentries use a different Brewfile syntax, so they cannot live in the shared taxonomy, but the script splices them in right after the languages section to keep the programming tools together. - VS Code extensions and App Store apps come last. Each is its own alphabetical section.
- Nothing is dropped silently. Anything that does not match a category lands in an Other section. When I see something there, it is my cue to update the category map.
- Broken App Store entries are removed.
brew bundle dumpoccasionally writes amasline withid: 0, which fails on install. The script drops those and prints a warning so I know it happened.
The normalizer also keeps the one-line description comments that sit above each entry, so the finished Brewfile reads like documentation:
 1# ------------------------------------------------------------
 2# Core CLI Tools
 3# ------------------------------------------------------------
 4
 5# Clone of cat(1) with syntax highlighting and Git integration
 6brew "bat"
 7# Modern, maintained replacement for ls
 8brew "eza"
 9# Command-line fuzzy finder written in Go
10brew "fzf"
Because every machine's file uses the same sections in the same order, diffing brewfile-air against brewfile-mini shows the real differences instead of noise from sort order.
The Day-to-Day Loop
Once this was in place, the routine became simple:
- Install something new with
brew installorbrew install --casklike I normally would. - Run the dump script on that machine.
- Review the diff with the command the script prints, and adjust the category map if the new entry landed in Other.
- Commit and push from that machine.
- Pull on the other Macs. If I want the new tool on another machine too, I add the line to that machine's Brewfile and run
brew bundle --file=...there.
Two built-in brew bundle subcommands pair well with this. brew bundle check --file=... tells you whether anything in the Brewfile is missing, and brew bundle cleanup --file=... lists anything installed that the Brewfile does not know about. Cleanup only lists by default and needs --force to actually remove things, which is exactly how I want a destructive command to behave.
Wrapping Up
None of the individual pieces here are new. Homebrew, Git, and symlinked dotfiles have been around for years. What changed for me was treating the Brewfile as something worth keeping readable, and a couple hundred lines of Python made that happen. With Golden Gate on all of my machines, I can rebuild any of them without thinking about it, and I know exactly how they differ.
How are you keeping your Macs consistent? If you use a different approach, whether that is chezmoi, Nix, or a plain shell script, I would like to hear what works for you. Reach out and let me know, and if you want to see more of the scripts behind this, tell me and I will put together a follow-up.
Connect with me on LinkedIn or reach out at mike@mikedent.io.