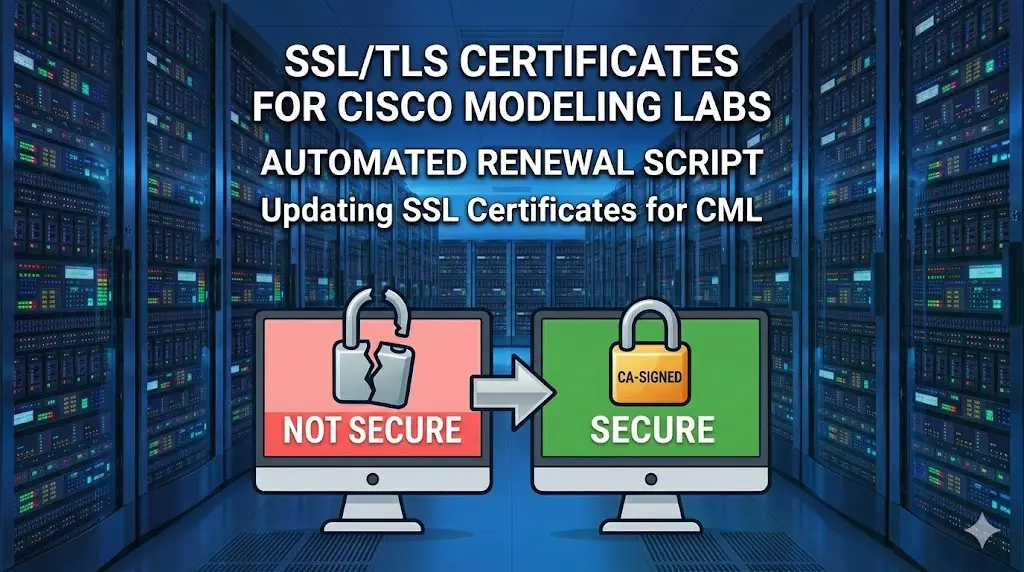
Updating SSL Certificates for CML
Overview
If you have a Cisco Modeling Labs appliance in your lab or running on a piece of dedicated hardware, you have probably noticed two browser warnings every time you log in. CML ships with self-signed certs on both the main web UI and the Cockpit management UI, and your browser will complain about both. Cisco publishes an official guide for installing an SSL certificate on CML, and it is a solid starting point, but in my own runs it did not get me 100% of the way to the outcome I wanted. The procedure focuses on the nginx side, leaves Cockpit's quirks largely unaddressed, and does not cover renewal, rollback, or any pre and post checks. The helper script in this post fills those gaps so a single command handles the install, the renewal six months from now, and a rollback if something goes sideways. This post walks through what the script does, how to use it, and how to keep things tidy when your wildcard cert renews.
The scope here is a single-instance CML deployment. Clustered CML installations should follow the same pattern at a high level, but the procedure for each controller in a cluster is outside the scope of this post. My own use case targets a wildcard certificate covering a domain like *.domain.net, but the same procedure works for a host-specific cert. The script does not care which one you use.
If you want context on why I lean on CML so heavily, I covered that in my earlier post on why CML earned a permanent spot in my workflow.
Why Bother
A self-signed cert is a fine starting point on day one, but it adds friction every day after that. You click through warnings to reach the lab UI, you click through more warnings to reach Cockpit on port 9090, and any tooling that hits the CML API has to be told to ignore certificate validation. None of that is dangerous in a lab, but it conditions you to ignore the very warnings you should pay attention to in production. Replacing the self-signed material with a CA-signed cert that matches your appliance's hostname removes the warnings, lets browser automation and API clients work without skip-verify flags, and leaves you with one less hand-waved exception in your environment.
There is also the renewal question, and that question is about to get sharper. The CA/Browser Forum approved Ballot SC-081v3 in April 2025, which steps the maximum public TLS certificate lifetime down on a phased schedule. As of March 15, 2026, the cap is 200 days. On March 15, 2027 it drops to 100 days, and on March 15, 2029 it drops again to 47 days. Whatever your CA is issuing today, you are looking at more frequent renewals over the next 12 to 18 months and a much shorter cycle by 2029. Any process that requires you to remember which files to copy where is a process that breaks the first time you do not run it for a few months. The script in this post is built around being run once for the install and re-run for every renewal with the same exact command, which is the kind of muscle memory you want when renewals start landing every quarter instead of every year.
What CML Actually Serves
A single-instance CML appliance terminates TLS at two places, which is why this is more involved than dropping a cert into one folder.
- nginx on port 443. Fronts the main CML web UI. Reads
/etc/nginx/pubkey.pem(the certificate) and/etc/nginx/privkey.pem(the private key). - Cockpit on port 9090. The Linux-side management UI for the appliance. Reads
*.certand*.keyfiles out of/etc/cockpit/ws-certs.d/and serves whichever*.certfilename sorts last lexicographically.
Both services use the same wildcard cert and key in this procedure. Rather than copying the cert and key into the system paths, the script symlinks the well-known paths to a single staged location under $HOME/certs/. That choice makes renewals trivial: overwrite the staged files, restart the two services, and you are done.
What You Will Need
A few prerequisites before the script will do anything useful for you.
- SSH and sudo access to the CML appliance. The default CML user is
sysadmin, which is what I will use throughout this post. - A wildcard or host-specific certificate plus private key in PEM format. The certificate file should be a fullchain PEM (server cert first, then intermediate, then root, all concatenated into a single file). If your CA delivered the parts separately, build the chain on your workstation with something like
cat server.cer issuer.cer root.cer > your-fullchain.pem. - The CML hostname covered by your cert. A wildcard cert for
*.domain.netcoverscml-host.domain.net. A host-specific cert needs to match the FQDN your users (and browsers) actually use to reach the appliance. - A short maintenance window. The script restarts
nginxandcockpiton the way out. A full CML instance restart is not required.
A note on private keys: the key must not be passphrase protected. CML cannot use an encrypted key, and both nginx and Cockpit will fail to start if you stage one. If your wildcard key has a passphrase, strip it first with
openssl rsa -in wildcard.key -out wildcard.nopass.key.
The Script
The script is cml_cert_refresh.sh. You can grab it (and the companion README) here:
Both files are hosted on my Cloudflare R2 CDN (
cdn.mikedent.io). They are served as static assets with no auth required, so the links above download the files directly. Always inspect any shell script before running it as root, and feel free to fork or adapt the script for your own environment.
At a high level, the script does the following in one run:
- Resolve. Auto-discovers a cert and key under
$HOME/certs/by askingopensslwhat each file actually is. Filenames do not matter. If multiple certs or keys are present, it prompts you to pick one. You can also pass--cert PATH --key PATHflags to bypass discovery entirely. - Pre-flight. Validates that the cert and key are readable PEM, that they are a matched pair (it compares public-key hashes), that the cert is not expired, and that the host has the directories and groups it expects (
/etc/nginx,/etc/cockpit/ws-certs.d,cockpit-wsgroup, and so on). - Confirm. Prints the cert subject, expiry date, and SANs, then prompts you to proceed. Pass
-yor--yesto skip the prompt for automation.--dry-runskips it implicitly. - Install for nginx. Backs up the existing
pubkey.pemandprivkey.pemto*.bak(only on first run, never overwriting an existing backup) and replaces them with symlinks pointing at the staged cert and key. - Install for Cockpit. Sets the staged key to group
cockpit-wswith mode640, then symlinks/etc/cockpit/ws-certs.d/cockpit.certandcockpit.keyto the staged files. Cockpit's auto-generation logic leaves existing files alone, so hijacking these specific filenames is stable across reboots and Cockpit upgrades. - Restart. Runs
nginx -tfirst to catch config errors before touching services, then restartsnginxandcockpitviasystemctlwith a 60 second timeout per service. On failure, the last 40 lines of the relevant journal are printed to help you diagnose. - Post-flight. Confirms both services are active, then connects to
localhost:443andlocalhost:9090and compares the served certificate's SHA-256 fingerprint against the cert that was just installed. Mismatches are warned, not failed.
The script is idempotent. Re-runs do not overwrite existing .bak files, so you cannot accidentally clobber the original self-signed material on a second invocation.
Procedure
Step 1: Stage the Cert, Key, and Script
From your workstation, copy the wildcard certificate, the matching private key, and the script into $HOME/certs/ on the CML appliance. Filenames do not matter because auto-discovery identifies each file by content.
1sftp sysadmin@cml-host.domain.net <<'EOF'
2mkdir certs
3cd certs
4put your-fullchain.pem
5put your.key
6put cml_cert_refresh.sh
7chmod 755 cml_cert_refresh.sh
8EOF
Step 2: Dry-Run the Script
SSH into the appliance and run the script with --dry-run first. Every action it would take is printed with a [dry-run] prefix. No files are moved, no symlinks are created, and no services are touched.
1ssh sysadmin@cml-host.domain.net
2~/certs/cml_cert_refresh.sh --dry-run
The cert-confirmation prompt is skipped under --dry-run, so you get a complete preview without having to answer anything.
Step 3: Run the Script
Once the dry-run output looks right, re-run without the flag to perform the install.
1~/certs/cml_cert_refresh.sh
A trimmed example of the output you should see:
 1==> Discovering cert and key in /home/sysadmin/certs
 2==>   Auto-discovered cert: /home/sysadmin/certs/your-fullchain.pem
 3==>   Auto-discovered key:  /home/sysadmin/certs/your.key
 4==> Pre-flight checks
 5  -> cert/key public-key match                       ok
 6  -> cert is not expired                             ok
 7  -> /etc/nginx present                              ok
 8  -> /etc/cockpit/ws-certs.d present                 ok
 9  -> systemctl available                             ok
10  -> cockpit-ws group exists                         ok
11==>   Subject: CN = *.domain.net
12==>   Expires: <date>
13==>   SANs:    *.domain.net,domain.net
14Proceed with these certs? [y/N] y
15==> Configuring nginx
16==>   /etc/nginx/pubkey.pem -> /home/sysadmin/certs/your-fullchain.pem
17==>   /etc/nginx/privkey.pem -> /home/sysadmin/certs/your.key
18==> Configuring Cockpit
19==>   /etc/cockpit/ws-certs.d/cockpit.cert -> /home/sysadmin/certs/your-fullchain.pem
20==>   /etc/cockpit/ws-certs.d/cockpit.key -> /home/sysadmin/certs/your.key
21==> Restarting services
22==>   Restarting nginx
23==>   Restarting cockpit
24==> Post-flight checks
25==>   nginx: active
26==>   cockpit: active
27==>   port 443: served cert matches installed cert
28==>   port 9090: served cert matches installed cert
29==> Done.
30==>   CML web UI: https://cml-host.domain.net/
31==>   Cockpit:    https://cml-host.domain.net:9090/
Step 4: Verify From a Browser
Browse to https://<cml-host>/ and https://<cml-host>:9090/. Both should present the new CA-signed cert with no browser warning. If you want a sanity check from outside the appliance, the following one-liner returns the served subject, issuer, and validity dates for each port.
1for port in 443 9090; do
2  echo | openssl s_client -connect cml-host.domain.net:${port} -servername cml-host.domain.net 2>/dev/null \
3    | openssl x509 -noout -subject -issuer -dates
4done
Renewal
When your wildcard cert is reissued, you have two options.
Re-run the script. Overwrite the cert and key files in $HOME/certs/ with the new contents. Filenames can stay the same or change. Auto-discovery does not care. Then run the script again.
1~/certs/cml_cert_refresh.sh
The pre-flight will validate the new pair, symlinks will not change if the filenames are unchanged, and nginx plus cockpit will be restarted to load the new key material. You also get the post-flight verification for free.
Fast path. If you replaced the existing filenames in place, the symlinks already point at the new bytes. Only the cockpit-ws permission needs to be reapplied (a fresh upload typically resets the group), and the services need to reload.
1sudo chgrp cockpit-ws ~/certs/<your-key>.key
2sudo chmod 640        ~/certs/<your-key>.key
3sudo systemctl restart nginx cockpit
Either path is valid. I usually re-run the script because the post-flight output is reassuring and the extra few seconds are not worth thinking about.
Rollback
If the new cert turns out to be wrong, broken, or otherwise undesirable, the script can put the original self-signed material back.
1~/certs/cml_cert_refresh.sh --rollback
This removes the symlinks the script created, restores the *.bak files saved on first install, and restarts both services. If a .bak is missing for any reason, the script warns and continues. The rollback only works if the original .bak files are still in place, so the takeaway is: do not delete those backups manually.
A Few Things to Watch For
A handful of issues come up often enough to be worth calling out.
- Cockpit still serves the self-signed cert. Cockpit picks the lexicographically-last
*.certfile in/etc/cockpit/ws-certs.d/. The script writes tocockpit.cert, which sorts after the bundled0-self-signed.cert. If you have a higher-numbered file like99-something.certin that directory from a previous attempt, Cockpit will pick that one instead. List the directory, remove or rename the offender, and restart Cockpit. nginx -tfails before the restart. This is intentional. The script aborts before restarting any services so you do not end up with a non-running web UI. Thenginx -toutput is printed inline. The most common cause is a passphrase-protected private key, so check that first.- Service restart times out. The script bounds each
systemctl restartto 60 seconds and dumps the last 40 lines ofjournalctl -u <svc>on failure. Again, a passphrase on the key is the leading suspect. - Cert and key do not match. The pre-flight compares the SHA-256 of the cert's public key against the public key derived from the private key. If they do not match, you have staged the wrong pair. Re-export from your CA or key store and re-run.
Wrapping Up
Replacing the self-signed certs on a single-instance CML appliance is the kind of task that feels small until you do it twice and realize you have already forgotten the order of operations. A short helper script removes the guesswork, makes the install repeatable, and turns renewals into a one-command operation. Once it is in place, the only thing you need to remember is to drop the new cert and key in the same folder when the renewal lands.
If you have been looking to replace the certs on your own CML instance, I hope this helps. With cert lifetimes shrinking over the next few years, getting a clean and repeatable workflow in place now will pay off every time the calendar rolls around.
Running CML in your own lab and want to compare notes on cert handling, renewals, or anything else CML-adjacent? Reach out on LinkedIn or drop me a line at mike@mikedent.io.