Migrating Firepower Management Center Off VMware
Overview
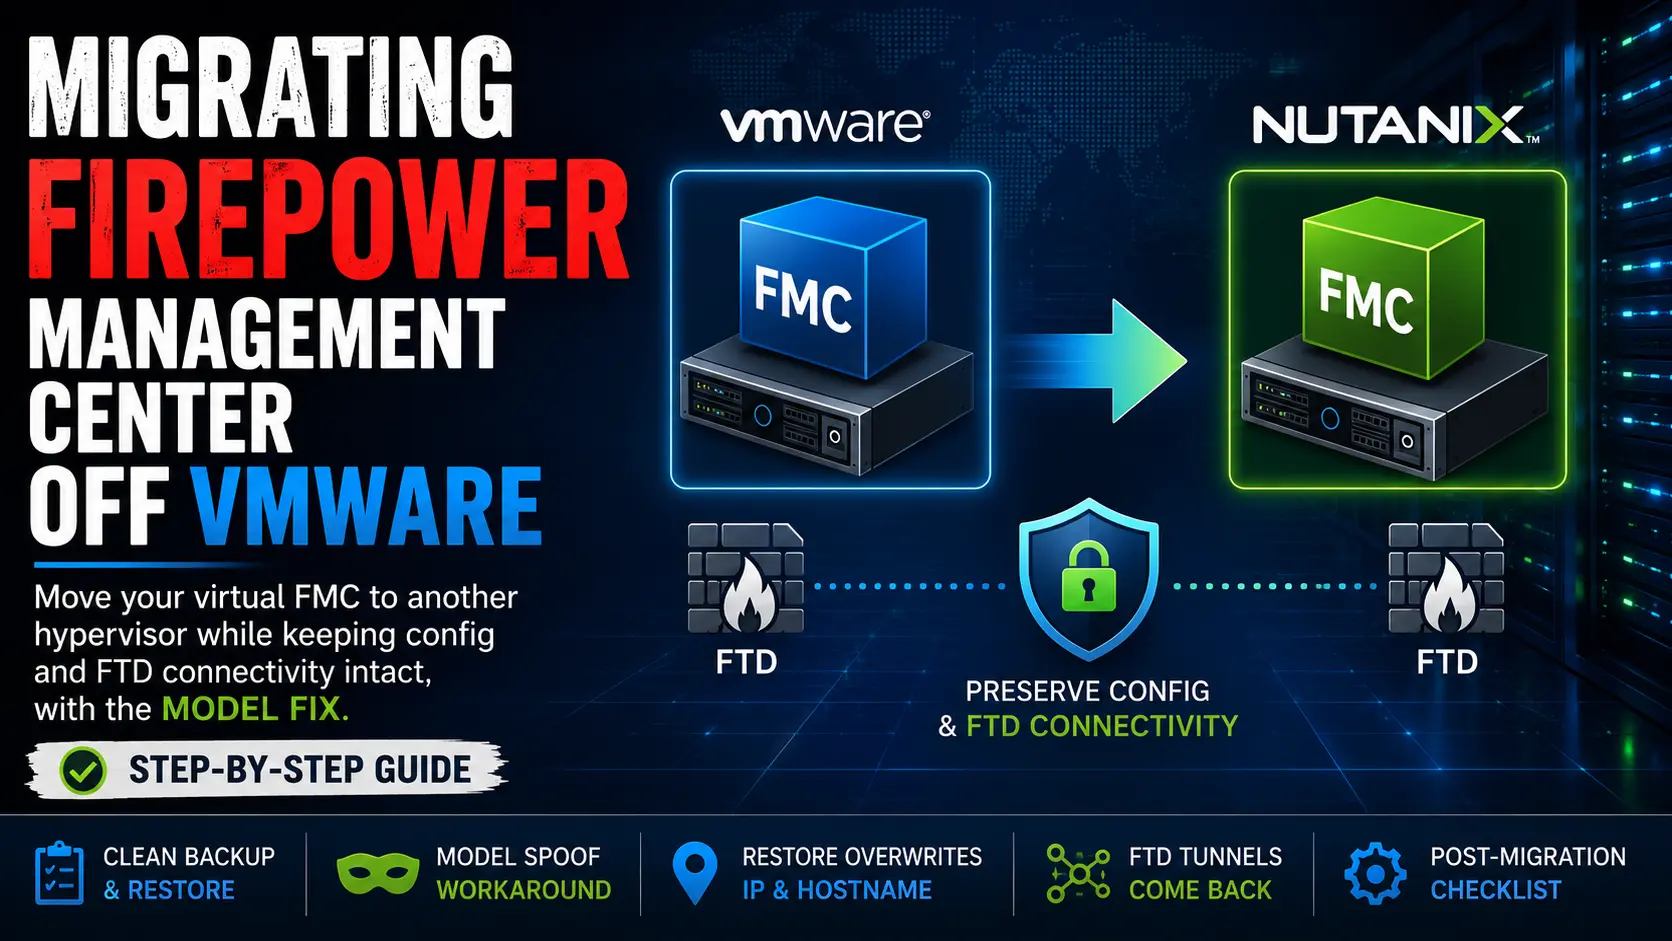
If you are moving a virtual Firepower Management Center off VMware, the part that keeps people up at night is not the deployment. It is whether every policy, object, and managed FTD comes back exactly as it was. The good news: a clean backup and restore preserves your configuration and your FTD connectivity, as long as you sidestep the one trap Cisco built into the process. This is the short, copy-paste-ready version of how to do it, with a working example on VMware to Nutanix AHV in my lab.
Work with Cisco TAC. Before you touch a production FMC, open a proactive TAC case for the planning and the migration itself. TAC engineers know the model workaround below, and an open case number on file shortens recovery if anything goes sideways mid-restore. Treat this post as a map, not a substitute for that engagement.
Why You Cannot Just Lift and Shift
Cisco ships the FMCv as a virtual image for VMware or KVM. For other hypervisors, follow the instructions on the deployment there (Hyper-V, Azure, AWS, etc.). While the image is different, the software is identical. What is not identical is the platform identity Cisco embeds in the backup metadata. A backup taken on FMCv for VMware refuses to restore onto an FMCv that reports a different platform, and you get a Product model mismatch error.
That single detail rules out the easy options. Lift-and-shift tools like Nutanix Move do not help, because the in-guest model identity does not change when the VM container moves. The supported path is a backup on the source, a fresh deploy on the target, and a restore, with a model-spoof step in the middle.
Two other constraints are worth knowing up front. The restore must run on a freshly deployed FMCv that has never had devices registered to it, or you hit a certificate database mismatch. And HA is not supported for FMCv on AHV today, so an HA pair on VMware has to be broken and migrated as a standalone instance.
My first instinct was to avoid the backup-and-restore dance entirely: stand up a new FMCv on the target platform and just peer it to the existing VMware instance through FMC High Availability, letting the config sync across before failing over. That does not work. FMC will not form an HA pair across two different platform instances, and the setup fails outright when the peers do not match. The platform identity that blocks a cross-platform restore blocks cross-platform HA for the same reason. Backup and restore is the supported path, not an HA cutover.
The Workflow at a Glance
- Take a clean backup of the source FMCv (source stays online).
- Deploy a fresh FMCv on the new hypervisor using a temporary IP.
- Patch the new FMCv to exactly match the source version and VDB.
- Spoof the new instance as
FMCv for VMwarewithconfigure-model.sh. - Power off the source FMCv.
- Restore the backup. The appliance reboots onto the source IP and hostname.
- Re-run
configure-model.shto set the correct target identity. - Re-register licensing, update VDB/SRU, and force-deploy to devices.
The restore overwriting the management IP is the convenient part. You can run both instances in parallel during prep on different IPs, then shut down the source just before the restore, and the new instance silently inherits the source IP and hostname on reboot.
Step 1: Back Up the Source
In the source FMC web UI, go to System (gear) > Tools > Backup/Restore > Firewall Management Center Backup. Enable Back Up Configuration, add events or TID (Threat Intelligence Director) if you want them carried over, and start the backup - and remember where you saved it to, either locally to the FMCv appliance itself (and requires SCP to pull that file), or to remote storage. Monitor it in the Message Center, then download the resulting .tar.gz.
Do not make config changes after the backup, otherwise there might be some missing content.
Step 2: Deploy a Fresh FMCv
Pull the FMCv image matching your source version exactly from Cisco Software Download (the KVM build is used for AHV), and deploy a new VM. On AHV that means uploading the qcow2 as a disk image in Prism Central, then creating a VM with Cisco's documented minimums: 4 vCPU, 32 GB RAM (it fails to boot below 28 GB), a 250 GB disk, legacy BIOS, and a single virtio NIC.
At first boot, log in at the console with admin / Admin123, accept the EULA, and set a temporary password. Configure networking on a temporary IP that does not collide with the still-running source:
1configure network ipv4 manual <temp-ip> <netmask> <gateway>
2configure network hostname <temp-hostname>
3configure network dns servers <dns1>,<dns2>
Browse to the new FMC and log in, but stop there. Do not register devices, do not configure smart licensing, do not run the setup wizard. The restore populates all of it.
Step 3: Match the Version Exactly
Patch the new FMCv until Help > About is character-for-character identical to the source, including patch level and VDB. If the source is 7.4.2, install the 7.4.0 image and apply the 7.4.2 patch. You cannot downgrade VDB on the target, so if the only image you can download is newer than your source, the cleaner fix is to upgrade the source FMC first and take a fresh backup.
Step 4: Spoof the Model
This is the step that gets skipped, and it is the one that causes the Product model mismatch failure. The fix is the configure-model.sh utility on the FMCv, which temporarily reports the appliance as the source platform so the backup will accept it. Running this utility is a TAC-guided activity, so work through it with your TAC case rather than poking around the filesystem on your own. When prompted, select the source platform, Firepower Management Center for VMware, and let the appliance reboot. After it comes back, have TAC confirm the model identity reflects the VMware platform before you move on.
Step 5: Power Off the Source, Then Restore
Power off the source FMCv but do not delete it. Keep it as a rollback target for at least two weeks. The source must be off before the restore reboot completes, or you get an IP collision when the new instance claims the source IP.
Move the backup to the new FMCv. For large files, SCP straight into /var/sf/backup/ so it shows up in the UI:
1scp <backup-name>.tar.gz admin@<temp-ip>:/var/sf/backup/
In System > Tools > Backup/Restore > Backup Management, select the backup, click Restore, choose your components, and start it. Because the appliance now reports as FMCv for VMware, the restore proceeds. The FMC applies the backup and reboots automatically onto the source IP and hostname, so update your bookmarks and DNS accordingly. Expect 20 to 40 minutes.
You do not need to manually change the IP. A lot of the guides online I found reference reconfiguring the new FMCv onto the old IP by hand, either before or after the restore. In my own migration that step was unnecessary. The restore carried the source IP and hostname over automatically and the appliance came back up on them after the reboot. That is exactly why the temporary IP in Step 2 can be anything reachable: the backup overwrites it. Save yourself the extra CLI work and let the restore do it.
Step 6: Revert the Model Identity
Once the restore is done, set the platform identity back to the truth so support, licensing, and future upgrade tooling see the real platform. Run the configure-model.sh utility again with TAC, this time selecting the correct target, for example Firepower Management Center for Nutanix. Let it reboot and confirm the model identity now reflects the target platform.
Step 7: Confirm Your FTDs Came Back
This is the payoff. Because the restore re-applied the source FMC's IP and hostname, the sftunnel to each managed FTD should re-establish on its own with no FTD-side changes. Log in at the source IP using the original source admin password (not the temporary one from first boot), then check Devices > Device Management. Every FTD should show Normal with the tunnel connected.
If a device shows Disabled or Unreachable, the sftunnel cannot reach the FMC, almost always because the management IP differs from what the FTD expects. Only if you intentionally changed the FMC IP do you need to repoint each FTD from its CLI:
1configure manager delete
2configure manager add <new-fmc-ip> <registration-key>
Wrap-Up Tasks
A few things are not covered by the backup or are not auto-deployed, so handle them before you call the migration done:
- Smart Licensing. The restored registration is tied to the old VMware VM UUID, which no longer matches. Unregister and re-register with a fresh token, or have TAC clear the orphan entitlements.
- VDB and SRU. Update both to the latest under System > Updates.
- Settings not in backups. Re-add remote storage, audit log certificates, and AMP cloud connections.
- Health policies. Re-apply each policy to its devices under System > Health > Policy.
- Force deploy. Push to one low-impact device first, confirm it lands cleanly, then force-deploy to the rest. This is the recommended default for a migration and is required if anything changed after the backup.
Finish by taking a snapshot of the new FMCv. Snapshots are cheap insurance and let you roll back without re-running the whole procedure.
Final Thought
The procedure itself is short. The discipline is in the order: fresh deploy, exact version match, spoof, restore, revert. Get those right and your config and your FTD connectivity come across intact. Get the model spoof wrong and you stare at a mismatch error until you do. And to say it one more time, loop in Cisco TAC before a production cutover.
If you have run an FMC migration off VMware, or you are planning one and want to compare notes, I would like to hear how it went. Connect with me on LinkedIn or drop a note at mike@mikedent.io.