Guest Customization for Windows in Prism Central 7.5
Overview
If you have ever cloned a Windows VM on Nutanix and watched five identical machines come up with the same hostname, the same SID, and a domain join you have to redo by hand, you already know why guest customization matters. For years my workflow involved hand-rolling an unattend XML file for each new template, version controlling them, and then attaching the right one at clone time. It worked. It was also one of those things I would dread refreshing whenever a new Windows release dropped or a customer asked for a slightly different deployment profile.
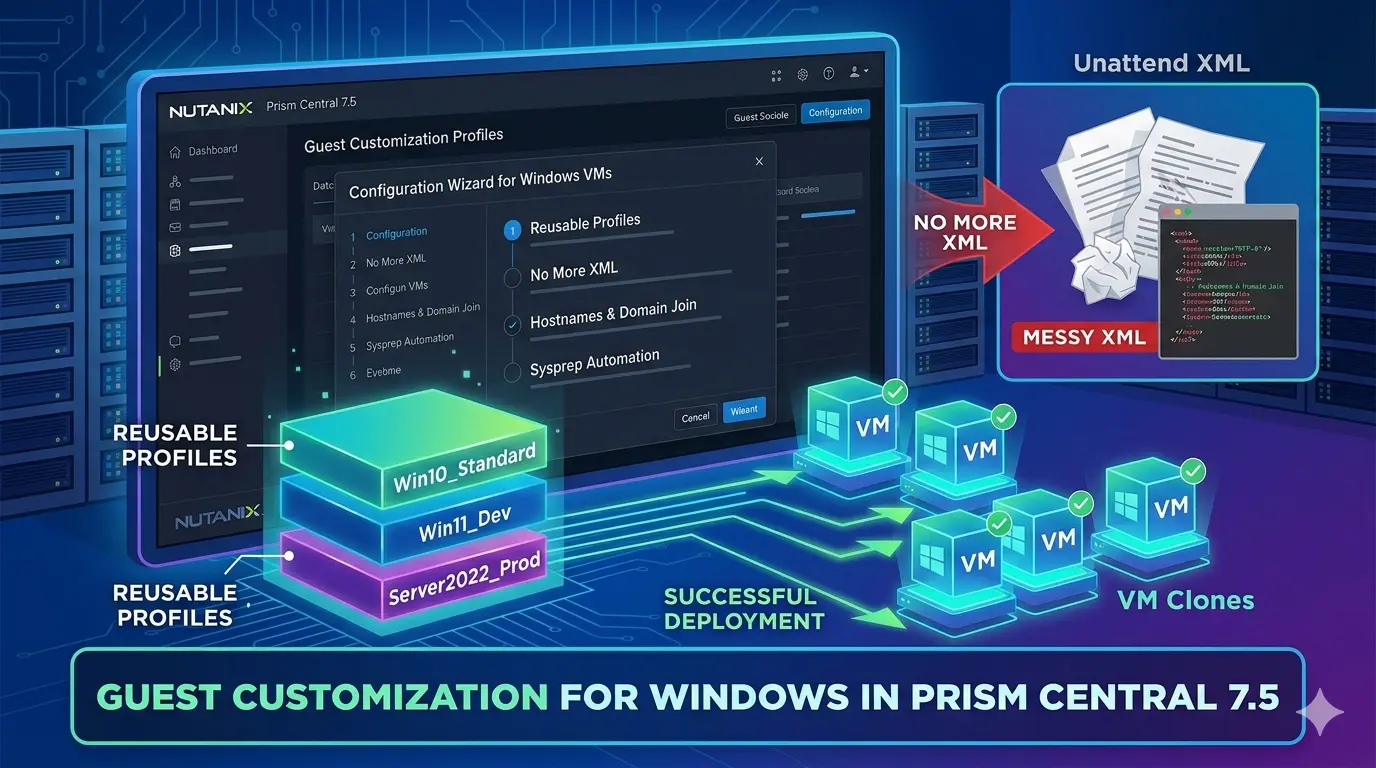
Prism Central 7.5 changes that workflow in a meaningful way. The new Guest Customization Profile feature gives you a reusable, UI-driven way to define how a Windows VM should be customized, then apply that profile to any clone or template deployment. No more chasing one-off XML files. And for the cases where you genuinely need a hand-tuned unattend script, the custom script method is still there.
Here is how I am thinking about it, what the prereqs look like, and where the profile model actually pays off.
Profiles Make Deployment Intent Visible
If you have spent any time in vCenter, the easiest way to wrap your head around this feature is that it is essentially the Nutanix answer to vCenter Customization Specifications. Anyone who has built a Windows template in vSphere has used Customization Specs to handle hostname, domain join, sysprep credentials, and network configuration as a reusable, named object that you pick from a dropdown at deployment time. Prism Central 7.5 brings that same pattern to AHV: define the customization once, name it, reuse it across every clone and template deployment. If your VMware muscle memory was a small piece of friction when working in Prism, this should feel immediately familiar.
Under the hood, this is still Microsoft Sysprep. Nutanix Guest Tools (NGT) injects the answer file and Windows handles the rest. What changed is the consumption model.
In previous AOS and PC versions, the workflow looked like this for me:
- Build a golden image, sysprep generalize, capture as a template.
- Maintain a library of unattend XML files for each combination of locale, domain, admin password policy, OU, and network configuration.
- At deployment time, attach the right XML to the clone or template operation.
- Edit the XML for any per-VM specifics like computer name or IP, or trust the deployment script to do it for me.
That last step is where it always got messy. Hand-rolled unattend XML is fragile in ways that do not surface until first boot. Pass ordering matters more than people remember, with an element placed under specialize when it belongs under oobeSystem applying at the wrong stage or not at all. Special characters in passwords and computer names need escaping that is easy to miss. A missing closing tag or stray namespace will sail past your text editor and fail Sysprep with an error that points at a line number nobody wants to investigate. Microsoft's official validator is WSIM, and it is its own learning curve. A typo in a file you only touch twice a year is a real way to ruin a Friday afternoon.
In Prism Central 7.5, you build the profile once in a wizard, version it like any other Prism Central object, and consume it during clone or template deployment. The XML is generated for you in the background, and any per-VM values (computer name, static IP) can be marked as Provide during Deployment so the deploying user is prompted at the right moment. You stop maintaining XML and start maintaining intent.
For shops standing up a lot of Windows VMs, especially in any kind of mixed AD or workgroup or DHCP or static topology, that is a real time saver.
Prerequisites You Cannot Skip
Before any of this works, get the foundation in order. The feature is gated on a few non-negotiables:
- Prism Central 7.5 or later, and AOS 7.5 or later. Both have to be on 7.5 or newer. The profile object lives in PC, but the customization is applied at the cluster, so the cluster needs to understand the new workflow.
- Windows guest operating systems only. This is the Sysprep path. Linux still uses cloud-init, which is a separate workflow with its own profile feature.
- Nutanix Guest Tools 4.5 or later, installed and enabled on the source VM. NGT is what actually drops the answer file into the guest and triggers Sysprep at first boot. If NGT is missing, stale, or disabled on your template, the profile will not apply and the VM will boot with whatever default state Sysprep generalize left behind. If you have historically not kept NGT in your template, that is a meaningful workflow change for this feature. More on that below.
- RBAC permissions for any user who needs to create, view, update, or delete profiles. Specifically
Create_VM_Guest_Customization_Profile,View_VM_Guest_Customization_Profile,Update_VM_Guest_Customization_Profile, andDelete_VM_Guest_Customization_Profile. Add these to a custom role if you do not want every operator using the built-in admin role.
A couple of practical notes from my own setup that are not in the docs but matter:
- Refresh your golden image NGT to 4.5 or later before sysprep generalize. I have seen plenty of templates from older AOS days running NGT 3.x. The next section covers why putting NGT in the template at all is a workflow shift worth understanding.
- Validate DNS works inside the VM before domain join. This sounds obvious. It is also the single most common reason a domain join silently fails after a clone. The guided setup will let you specify primary and alternate DNS, but if the IP plan, VLAN, or DHCP scope cannot actually reach a domain controller, no amount of profile work will fix it.
NGT in the Template Is the Real Workflow Shift
If you have been running Nutanix long enough, the idea of installing NGT into a master template probably feels wrong, and for good reason. The right answer to "do I bake NGT into my golden image" has changed three times in recent release cycles. Worth naming explicitly, because guest customization profiles will not work until you are on the current answer.
- Original NGT, IP-based. NGT communicated with the CVM over IP and, at install time, established a certificate-based trust between the cluster and that specific VM. Bake NGT into a template and every clone inherited the same certificate that had been issued for the source VM, not for the clone itself. The clone came up trying to talk to the cluster with a certificate that did not belong to it, and NGT communications were broken from first boot. The accepted practice was simple: never install NGT on the template. Install post-clone, every time.
- IP-less NGT, install but do not enable. Newer NGT versions moved to an IP-less connection model and no longer pinned the install to a specific CVM. Templates could safely carry an NGT install. My own workflow at this point shifted to installing NGT in the template but leaving it disabled, then enabling it after clone. Install is cheap and template-friendly. Enable wanted to happen on a per-VM basis.
- Today, install and enable. The profile workflow needs a working NGT instance at first boot, because NGT is what injects the answer file and triggers Sysprep. That means NGT has to be both installed and enabled in the template, not just installed. If you are coming from the install-but-disable pattern I just described, that is the change you will feel on day one.
The practical takeaway is short. Validate that NGT is at 4.5 or later, installed, and enabled in your golden image before you sysprep generalize. If you have a template hygiene runbook, this is a line item to update.
Two Ways to Build a Profile
You have two options when you click Create Guest Customization Profile in Prism Central under Compute > Guest Customization Profiles:
- Guided Setup. A wizard that walks you through identity, locale, first-logon commands, workgroup or domain, and network configuration. The XML is constructed for you. This covers the majority of real-world deployments.
- Custom Script. Upload an existing unattend XML file or paste it directly into the editor. This is the escape hatch for advanced configurations the wizard does not cover, or for shops that already have a hardened unattend they want to keep.
I lean on the guided setup for any new design I am building, and reserve custom script for legacy XML I am migrating in or for something niche like a heavily customized first-logon orchestration that would be painful to express through the UI.
What the Guided Setup Actually Captures
This is where the profile model earns its keep. A single profile can express:
- Profile name and description. Treat this as documentation. Future you will appreciate
win2022-corp-static-domainoverProfile1. - Computer name strategy. Either match the VM name automatically, or require the deploying user to provide one at deployment time. The latter is what I use whenever the VM name and the OS computer name need to differ, which is more often than you would think in environments with strict naming standards.
- Local administrator password. Set once in the profile, applied consistently across every VM the profile produces.
- Auto-logon as administrator with a configurable login count, useful for templates that need to run first-boot configuration scripts before being handed to an end user.
- Windows product key, registered owner, and registered organization. Especially relevant for KMS or MAK environments that still expect explicit keys.
- Timezone and locale. System locale, user locale, and UI language. The wizard will let the user and UI follow the system locale automatically, or you can set them independently for multi-region environments. There is even a custom locale option for the edge cases.
- First Log On Commands. Run scripts or commands the first time the VM boots. This is where I drop things like inventory registration, agent installs that have to happen post-Sysprep, or quick post-build sanity checks.
- Workgroup or Active Directory domain join. None, workgroup, or AD domain. For AD, you specify FQDN, a service account in either
DOMAIN\usernameorusername@domain.comformat, and the password. - Network settings. Either every NIC uses DHCP, or you define each NIC individually. If you go custom, each NIC can be either DHCP or Provide during Deployment, which is the modern equivalent of the old static IP placeholder I used to leave in unattend files.
The IPv4 limitation is worth flagging up front. The guided setup does not configure IPv6. If you are running dual-stack and need IPv6 customization, that is a custom script scenario today.
Profiles Per Use Case Is the Real Win
The reason I am genuinely excited about this is not any one field in the wizard. It is the shape of the thing. Profiles are reusable, named objects. That changes how you design.
A few patterns I am building out in my own environment:
- Per Windows version. Server 2019, Server 2022, Server 2025, Windows 11. Each gets its own profile because product keys, locale defaults, and first-logon commands tend to drift between versions.
- Per network identity model. A
dhcp-domain-joinedprofile for tier-2 application servers that take whatever DHCP gives them. Astatic-domain-joinedprofile that uses Provide during Deployment for the IP, for everything in the production data center where addresses are tracked in IPAM. Aworkgroupprofile for short-lived test rigs where I do not want anything joining AD. Adhcp-no-domainprofile for utility VMs. - Per environment. A
dev-corpprofile that joins the dev domain and uses dev DNS. Aprod-corpprofile that joins production and uses production DNS. Same OS, same template, completely different identity outcomes based on which profile you pick at deployment. - Per business unit or tenant. Particularly useful in multi-tenant or service-provider style deployments where each customer has their own domain, naming convention, and admin password rotation.
- Per regulatory locale. When you have to deploy a workload into a specific country with specific timezone and locale requirements, that becomes a profile, not a tribal-knowledge step in a runbook.
The point is that you are now expressing deployment intent as a first-class object. Three months from now, when someone asks for "another one of those VMs we built last quarter," the answer is not "let me dig through git for the XML." It is "use the prod-app-static-domain profile."
Applying the Profile at Clone Time
The profile by itself is just metadata. It comes alive during a VM clone or template deployment. The flow:
- Right-click the source VM and choose Clone, or deploy from a VM template.
- Set the clone count. Worth knowing: when you clone more than one VM, NICs default to DHCP regardless of the profile, because static IPs cannot be uniquely assigned across multiple clones in a single operation. This is intentional, but it is a gotcha if you forget. If you need static IPs for multiple VMs, deploy them one at a time or script the loop.
- Choose Sysprep (Windows) as the Guest OS Type.
- Select your profile from the Guest Profile Name dropdown.
- If your profile uses Provide during Deployment for computer name or network, fill in those values now.
- Optionally use Advanced Configuration to override anything for this specific deployment.
You can clone up to 250 VMs in a single operation. The profile applies to each one.
Templates work the same way. Build the template once, attach a profile when deploying from it, and you get a customized VM at the other end without ever touching an unattend file directly.
A Few Things to Watch For
The feature is straightforward once you have used it, but there are some sharp edges:
- NIC ordering. Profiles map NIC configurations sequentially. The first NIC config in the profile lands on the first NIC of the VM, second on second. If your template has more NICs than the profile defines, the extras are not touched. Build templates and profiles with the same NIC count or you will end up troubleshooting a connectivity issue that is really an ordering issue.
- Secure boot. You cannot override the secure boot setting during a clone unless the source VM already has secure boot enabled. Set this correctly at the template, not at clone time.
- DHCP plus custom DNS. Standard DHCP through the guided setup does not allow DNS overrides at the top level. If you need DHCP for IP but specific DNS servers (very common in segmented environments), use the Add Custom Settings path and configure the NIC individually with DHCP plus custom DNS.
- Domain join requires DNS that resolves your DCs. The guest has to be able to find a domain controller via DNS or the join silently fails. Validate DNS reachability from the target VLAN before you blame the profile.
- Sysprep generalize hygiene on the source. Anything the profile does happens on top of whatever state the template was captured in. A messy generalize, lingering AppX provisioning, or BitLocker still enabled on the source can all sabotage first boot. If you have read my Horizon image management on AHV post, the same hygiene rules apply here. Disable BitLocker, clean up AppX, run optimization, and only then sysprep.
Where Custom Script Still Makes Sense
The custom script method is not deprecated, and it should not be. Reach for it when:
- You already have a battle-tested unattend XML you do not want to rewrite. Upload it, give it a name, done.
- You need IPv6 configuration the guided setup does not expose.
- You are running advanced first-boot orchestration that is awkward to express as a list of commands. Things like complex PowerShell DSC, SCCM task sequence handoffs, or domain join with specific OU placement and computer object pre-staging.
- You need to set things the wizard does not surface, like specific SkipMachineOOBE behaviors, custom ProductKey injection logic, or non-standard input methods.
Custom script is the right tool for these cases, but it puts you back on the hook for the schema validation, pass ordering, and silent-failure debugging that come with hand-rolled XML. If the guided setup can express the deployment, prefer the guided setup.
Even for these cases, I treat the custom script profile as the new home for that XML. Stored in Prism Central, named, versioned through normal change processes, applied through the same clone and template flow as any other profile.
How to Get Started
If you are sitting on PC and AOS 7.5 already, a reasonable rollout sequence looks like:
- Pick your most-cloned Windows template. Refresh NGT to 4.5 or later, validate Sysprep cleanliness, recapture if needed.
- Build one guided profile that mirrors your most common deployment pattern. For most shops that is
domain-joined-static-ip. - Clone a single VM through it end to end. Validate computer name, DNS, domain join, first-logon commands, and any post-build agent installs.
- Build out the profile library against your real deployment patterns. Aim for a small number of well-named profiles that compose well, rather than a large number of single-use profiles.
- Migrate any legacy unattend XML files into custom script profiles, even if you are not actively using them. Centralizing them in PC makes them easier to find and easier to retire later.
- Document which profile maps to which use case, ideally inside the profile description field itself.
The migration cost is small. The reduction in per-deployment friction is real. And honestly, getting out of the business of editing XML by hand is reason enough on its own.
If you are working through a Windows deployment workflow on Prism Central 7.5, or you have a pattern you have settled on for your own profile library, I would love to compare notes. Connect with me on LinkedIn or drop a note at mike@mikedent.io.