Creating AHV-Ready Windows ISOs with Embedded VirtIO Drivers
Overview
Deploying Windows VMs on Nutanix AHV requires VirtIO drivers that aren't included in the standard Windows installation media. This means manually loading drivers during setup or mounting driver ISOs after installation. I've built a PowerShell tool that simplifies this process by injecting the VirtIO drivers directly into your Windows ISO, complete with both a GUI for ease of use and a CLI for automation.
The Problem: Windows and VirtIO Drivers
When you deploy a Windows VM on Nutanix AHV, the Windows installer doesn't recognize the AHV SCSI virtual disks by default. This is because AHV uses VirtIO paravirtualized drivers for storage and networking, which deliver better performance than emulated hardware but require driver injection during or after installation.
The typical workarounds include:
- Manual driver loading during setup: Mounting the VirtIO ISO and browsing to load drivers when Windows prompts for storage drivers
- Driver injection after installation: Installing Windows to an IDE disk, then adding VirtIO drivers afterward and migrating to SCSI
- Image-based deployment: Using a sysprepped image that already has drivers included
None of these are ideal for quick deployments or lab environments where you just want to boot from an ISO and go.
The Solution: Driver Slipstreaming
The concept is straightforward: take a Windows ISO, extract it, inject the VirtIO drivers into both the installation image (install.wim) and the boot image (boot.wim), then repackage it as a bootable ISO. The result is a Windows installation ISO that works seamlessly on AHV without any manual driver intervention.
I was first introduced to this approach through Jeroen Tielen's excellent blog post, where he created a PowerShell script to automate this process. His script has been invaluable, and I've used it for quite a while. However, I found that I didn't need some of the functionality (like silent installation configuration and Nutanix cluster uploads), and I had customers asking about a GUI option for those less comfortable with command-line tools.
So I set about modifying the script for my purposes, streamlining the functionality and adding a graphical interface on top.
Introducing the Tool: GUI and CLI in One
The result is a unified PowerShell script that supports both interactive (GUI) and command-line (CLI) modes:
- GUI Mode: Perfect for one-off ISO creation or users who prefer a visual interface.
- CLI Mode: Ideal for automation, scripting, and integration into larger workflows.
Both modes share the same core functionality and produce identical results.
Key Features
- Dual mode operation: Launch with no parameters for GUI, or pass parameters for CLI automation.
- Automatic Windows ADK installation: If the Windows Assessment and Deployment Kit isn't installed, the script downloads and installs just the Deployment Tools component.
- Autoboot configuration: Optionally remove the "Press any key to boot from CD/DVD" prompt for fully automated installations.
- Windows edition selection: Choose which Windows edition to include in the final ISO (useful when working with multi-edition media).
- Automatic drive letter detection: No need to specify which drive letter to use for ISO mounting.
What's Different from the Original
For those familiar with Jeroen's original script, here's what I changed:
- Removed PowerShell 7 requirement: The script now works with PowerShell 5.1, which is included with Windows.
- Removed silent installation generation: I handle unattended installs separately with my own autounattend.xml files.
- Removed Nutanix cluster upload: I prefer to upload images manually or through other automation.
- Added GUI interface: A Windows Forms based interface for visual configuration.
- Combined into single script: One script handles both GUI and CLI modes based on how you invoke it.
Prerequisites
Before running the script, ensure you have:
- Windows operating system: This script must be run on a Windows machine. It relies on Windows-native tools like DISM (Deployment Image Servicing and Management) and the Windows ADK, which are not available on macOS or Linux, even with PowerShell Core installed.
- Administrator privileges: The script requires elevation for DISM operations and ISO mounting.
- Windows ISO: Your source Windows installation media (Server 2016/2019/2022/2025 or Windows 10/11).
- Nutanix VirtIO ISO: Download from the Nutanix Portal (requires login).
- Sufficient disk space: You'll need roughly 2-3x the size of your Windows ISO for the working directory.
The script will automatically check for the Windows ADK and, if not found, download it directly from Microsoft using Invoke-WebRequest and install the Deployment Tools component silently.
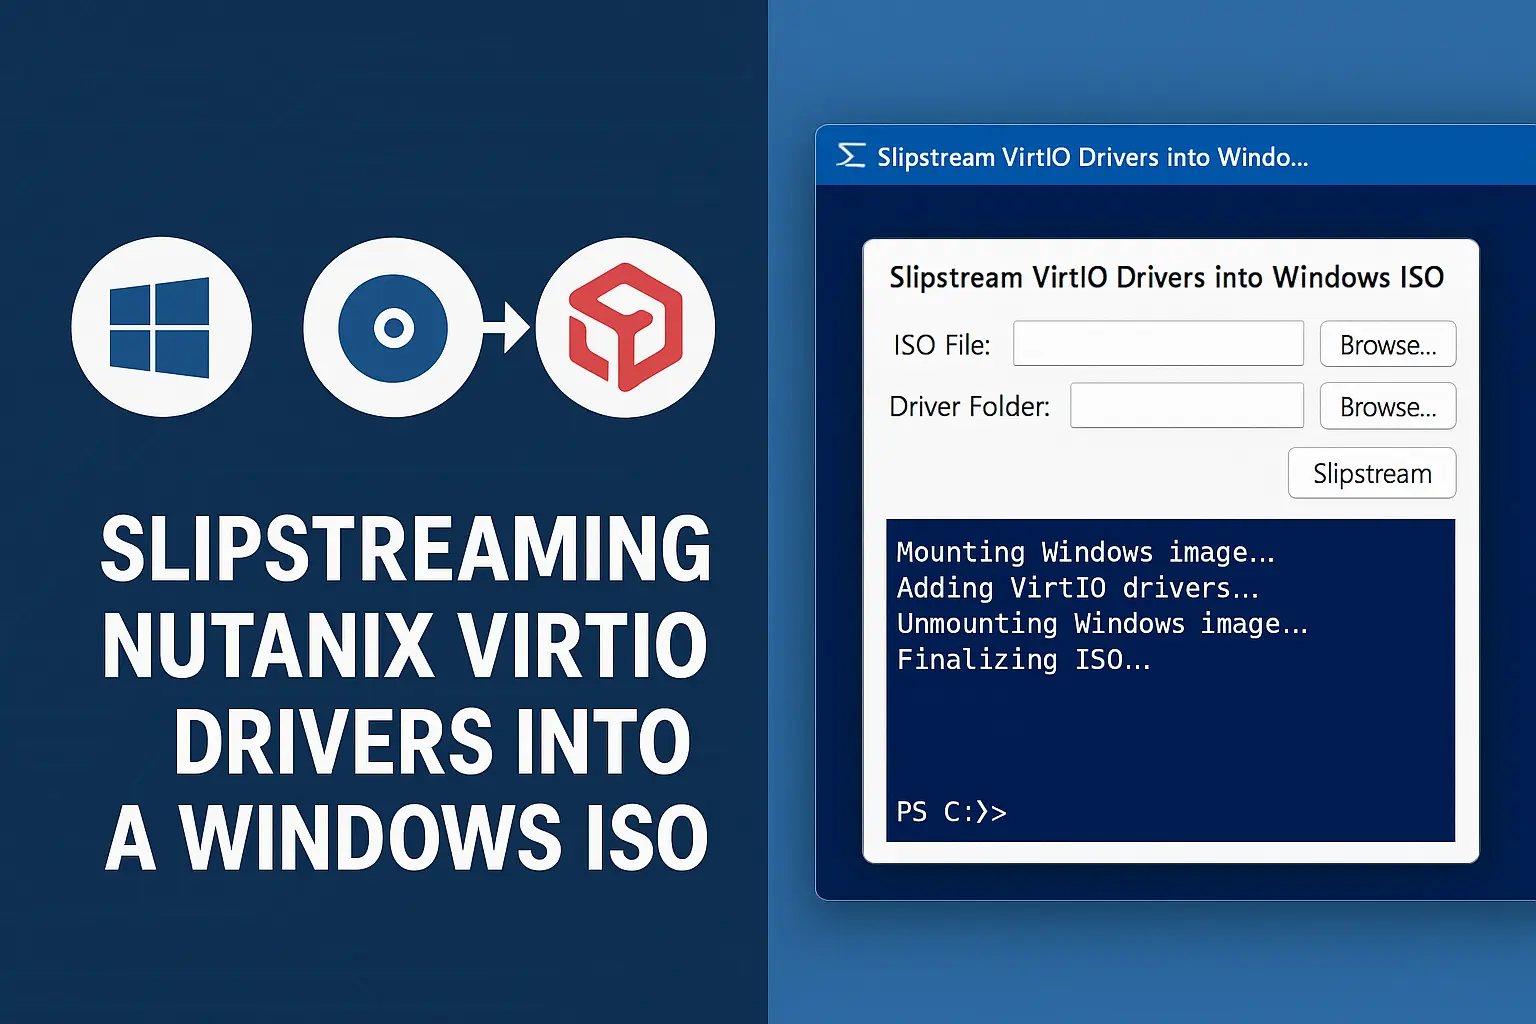
Using the GUI Mode
Launch the script without any parameters to open the graphical interface:
1.\New-WindowsISOWithVirtIODrivers.ps1
Or explicitly request GUI mode:
1.\New-WindowsISOWithVirtIODrivers.ps1 -GUI
The interface provides fields for:
- VirtIO ISO Path: Browse to your Nutanix VirtIO driver ISO.
- Windows ISO Path: Browse to your Windows installation ISO.
- Working Directory: Where temporary files and the output ISO will be created.
- Press any key to boot: Checkbox to enable/disable the boot prompt (unchecked = autoboot).
- Windows Edition Selection: After selecting a Windows ISO, the available editions are listed for selection.
Once configured, click Start to begin the process. The script will:
- Mount and extract both ISOs.
- Present available Windows editions (if not preselected).
- Inject VirtIO drivers into install.wim and boot.wim.
- Optionally remove the boot prompt.
- Create the new bootable ISO.
- Open Explorer to the output folder.
- Clean up temporary files.
Using the CLI Mode
For automation, pass the required parameters directly:
1.\New-WindowsISOWithVirtIODrivers.ps1 `
2    -VirtIOIso "C:\ISOs\Nutanix-VirtIO-1.2.4.iso" `
3    -WindowsIso "C:\ISOs\Windows_Server_2022.iso"
CLI Parameters
| Parameter | Required | Default | Description |
|---|---|---|---|
-VirtIOIso | Yes | - | Path to the Nutanix VirtIO driver ISO |
-WindowsIso | Yes | - | Path to the Windows installation ISO |
-PressKeyToBoot | No | $true | Set to $false to enable autoboot |
-WorkingDir | No | $env:TEMP | Directory for temporary files and output |
Example: Autoboot ISO
Create an ISO that boots automatically without the "Press any key" prompt:
1.\New-WindowsISOWithVirtIODrivers.ps1 `
2    -VirtIOIso "C:\ISOs\Nutanix-VirtIO-1.2.4.iso" `
3    -WindowsIso "C:\ISOs\Win2022.iso" `
4    -PressKeyToBoot $false
Example: Custom Working Directory
Specify a working directory with more space:
1.\New-WindowsISOWithVirtIODrivers.ps1 `
2    -VirtIOIso "D:\Drivers\Nutanix-VirtIO-1.2.4.iso" `
3    -WindowsIso "D:\ISOs\Windows11.iso" `
4    -WorkingDir "D:\Temp\Slipstream"
How It Works Under the Hood
For those curious about the technical details, here's what the script does:
1. Environment Preparation
The script first verifies administrator privileges, then checks for the Windows ADK Deployment Tools by looking for oscdimg.exe. If not found, it downloads the ADK installer from Microsoft using Invoke-WebRequest and silently installs just the Deployment Tools component. The oscdimg.exe utility is essential for creating bootable ISO images with dual BIOS/UEFI support.
2. ISO Extraction
Both the VirtIO and Windows ISOs are mounted using Mount-DiskImage and their contents copied to working directories. The script automatically finds an unused drive letter for mounting.
3. Windows Edition Selection
Windows installation media often contains multiple editions (Standard, Datacenter, etc.). The script uses Get-WindowsImage to enumerate available editions and prompts for selection. All other editions are removed from install.wim using Remove-WindowsImage.
4. Driver Injection
This is the core operation. The script:
- Mounts
install.wimusingMount-WindowsImage. - Injects all VirtIO drivers using
Add-WindowsDriver -Recurse. - Saves and dismounts the image.
- Repeats for
boot.wim(Index 2, the Setup environment).
Injecting into boot.wim is critical because that's what runs during the installation wizard. Without those drivers, Windows Setup can't see your disks.
5. Boot Prompt Removal (Optional)
If autoboot is requested, the script replaces the standard boot files with their "noprompt" variants:
cdboot.efi→cdboot_noprompt.efiefisys.bin→efisys_noprompt.bin
6. ISO Creation
Finally, oscdimg.exe creates a new bootable ISO with dual BIOS/UEFI support. The output filename includes the Windows edition, version, and date for easy identification.
Sample Output
When running the script, you'll see progress output like this:
 1Running in CLI mode...
 2Running with administrator privileges
 3Using drive letter: E: for temporary ISO mounting
 4OSCDIMG is available, continuing...
 5Cleaning up system and removing leftovers from previous runs...
 6Working directories created successfully
 7Mounting VirtIO driver ISO and copying files...
 8VirtIO driver ISO extracted successfully
 9Mounting Windows ISO and copying files...
10Windows ISO extracted successfully
11Removing read-only attributes from copied files...
12
13Available Windows editions in the ISO:
14----------------------------------------------------------------------
15Index 1: Windows Server 2022 Standard
16Index 2: Windows Server 2022 Standard (Desktop Experience)
17Index 3: Windows Server 2022 Datacenter
18Index 4: Windows Server 2022 Datacenter (Desktop Experience)
19
20Enter the index number of the Windows edition you want to use: 4
21Removing unused Windows editions from install.wim...
22  Removing index 3: Windows Server 2022 Datacenter
23  Removing index 2: Windows Server 2022 Standard (Desktop Experience)
24  Removing index 1: Windows Server 2022 Standard
25Selected Windows edition: Windows Server 2022 Datacenter (Desktop Experience)
26Mounting install.wim...
27Injecting VirtIO drivers into install.wim...
28Drivers successfully added to install.wim:
29...
30Dismounting and saving install.wim...
31Mounting boot.wim (Setup environment)...
32Injecting VirtIO drivers into boot.wim (Setup environment)...
33...
34Creating bootable Windows ISO...
35Running OSCDIMG to create ISO (this may take several minutes)...
36ISO created successfully: Windows Server 2022 Datacenter (Desktop Experience) en-US 10.0.20348.1 - 25 Nov 2025 - VirtIO.iso
37Script completed successfully!
38Your custom Windows ISO with VirtIO drivers is located at:
39  C:\Users\mike\AppData\Local\Temp\Slipstream\Output\Windows Server 2022 Datacenter (Desktop Experience) en-US 10.0.20348.1 - 25 Nov 2025 - VirtIO.iso
Tips and Best Practices
Keep Your ISOs Organized
I maintain a folder structure like this:
 1D:\ISOs\
 2├── Source\
 3│   ├── Windows_Server_2022.iso
 4│   ├── Windows_Server_2025.iso
 5│   └── Windows_11_23H2.iso
 6├── Drivers\
 7│   └── Nutanix-VirtIO-1.2.4.iso
 8└── Slipstreamed\
 9    ├── Win2022_VirtIO.iso
10    └── Win2025_VirtIO.iso
Update Regularly
When Nutanix releases new VirtIO drivers, regenerate your slipstreamed ISOs. New drivers often include performance improvements and bug fixes.
Test Before Production
Always test a slipstreamed ISO in a non-production VM before using it for critical deployments. Verify that:
- Windows installs successfully.
- All VirtIO drivers are present (check Device Manager).
- Network and storage performance are as expected.
Consider Autoboot for Automation
If you're using the ISO with automation tools like Nutanix Calm or other orchestration platforms, the autoboot option (-PressKeyToBoot $false) eliminates the need for manual intervention during the boot process.
Download the Script
Ready to try it out? Download the script here:
Download: New-WindowsISOWithVirtIODrivers.ps1
Acknowledgments
A huge thank you to Jeroen Tielen for creating the original script that inspired this tool. His work saved me countless hours and formed the foundation for this version.
Wrapping Up
Slipstreaming VirtIO drivers into Windows ISOs transforms the AHV deployment experience. What used to require manual driver loading during installation now works seamlessly out of the box. Whether you prefer the visual approach of the GUI or the automation capabilities of the CLI, this tool should fit into your workflow.
Have questions or suggestions for improvements? Feel free to reach out at mike@mikedent.io.
Thanks for reading!