Nutanix Disaster Recovery Guide 2025: Series Conclusion
Dec 5, 2025 · 13 min read · disaster-recovery Nutanix business-continuity infrastructure risk-management ·
Over the past nine posts, I've journeyed from the fundamental question of "why disaster recovery matters" through the technical details of implementing comprehensive business continuity with Nutanix. We've covered the risks, the solutions, the configuration, the testing, the operational procedures, advanced automation, …
Read MoreMonitoring Nutanix DR: Proactive Protection Health
Even the best-designed DR strategy only works if your replication is healthy, protection policies execute successfully, and recovery points are current. This post focuses on monitoring replication health, tracking protection policy status, and catching issues proactively using Prism Central dashboards, NCC health …
Read More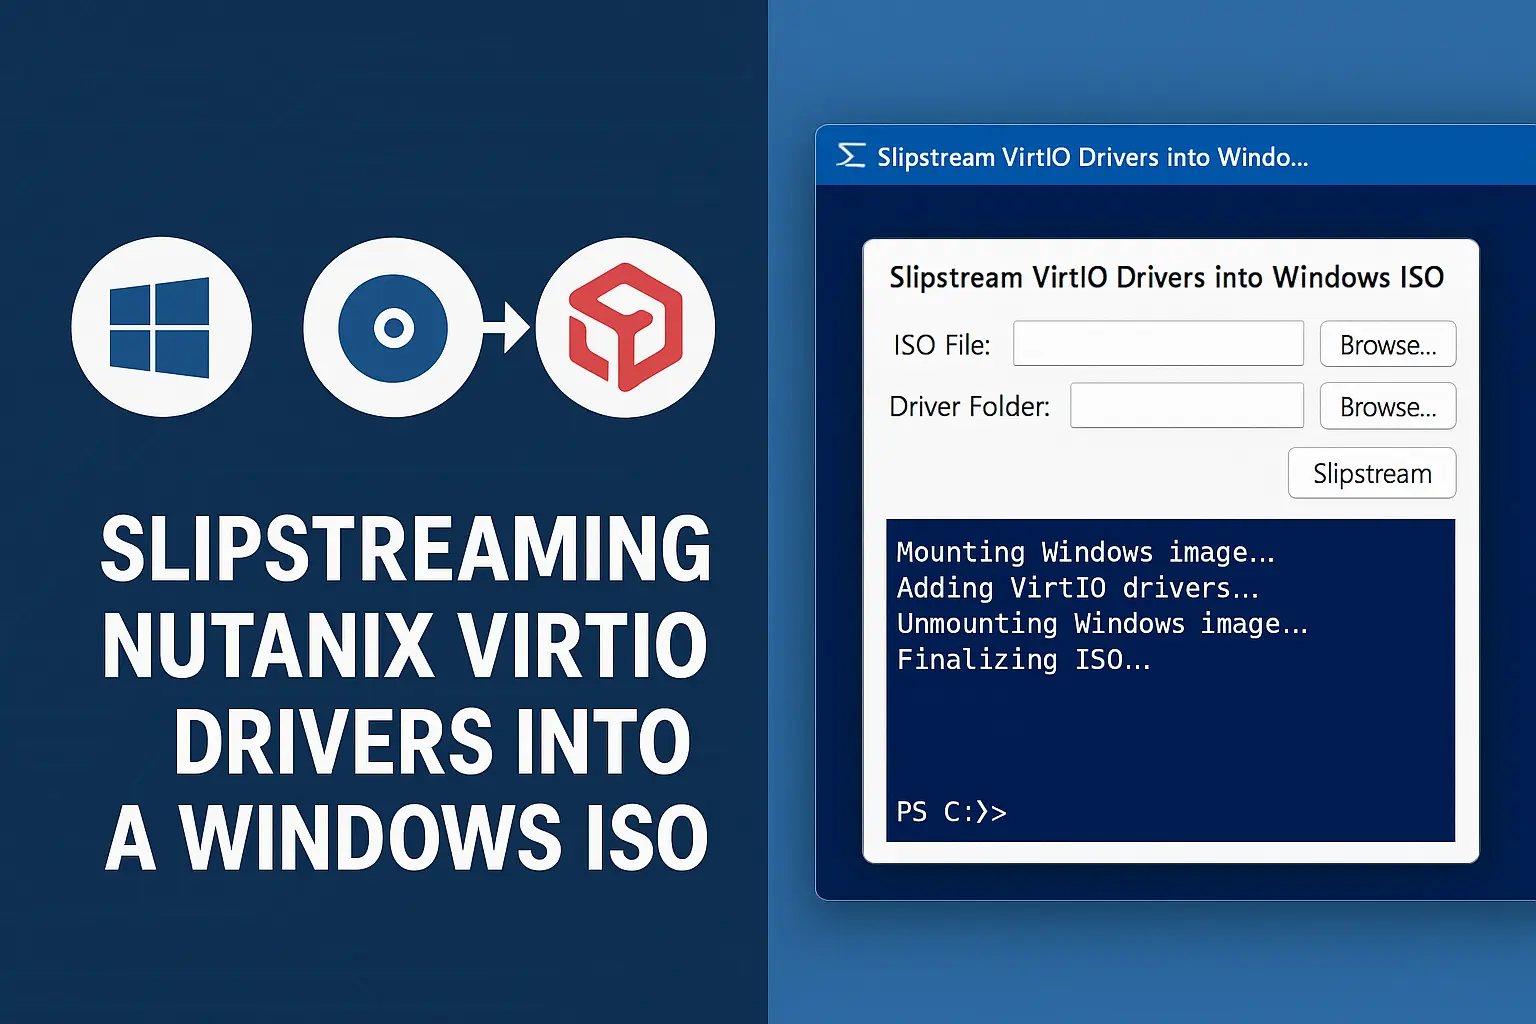
Deploying Windows VMs on Nutanix AHV requires VirtIO drivers that aren't included in the standard Windows installation media. This means manually loading drivers during setup or mounting driver ISOs after installation. I've built a PowerShell tool that simplifies this process by injecting the VirtIO drivers directly …
Read More
Advanced automation through in-guest scripts takes disaster recovery from good to great. While Recovery Plans handle infrastructure orchestration, there are application-specific configurations that require execution inside the guest operating system; DNS reconfiguration, IP changes, and service initialization as a few …
Read More
Nutanix made two significant announcements this week that expand their collaboration with Microsoft Azure, offering customers more flexibility for both infrastructure workloads and virtual desktop deployments in hybrid cloud environments. A Migration Path Forward: From AVS to NC2 The first announcement addresses a …
Read More
Introduction Prism Central is the command and control plane for your Nutanix infrastructure, managing multiple clusters, providing unified visibility, and orchestrating critical operations across your environment. Given its central role, protecting Prism Central is not just important—it's essential. A failure or data …
Read More
Not all failovers are created equal. Planned failover enables zero data loss migrations for maintenance windows, while unplanned failover optimizes for speed when disaster strikes. This post explores how Nutanix handles both scenarios, recovery point selection strategies, cross-cluster live migration for zero-downtime …
Read More
A disaster recovery plan that hasn't been tested is just expensive fiction. This post explores non-disruptive testing methodologies with Nutanix, including test failover on isolated networks, validation strategies for RTOs and application functionality, compliance reporting, and building organizational confidence …
Read MoreNutanix Recovery Plans: Orchestrating DR Failover
Recovery Plans are your automated DR runbooks, orchestrating the complex choreography of failover to bring applications back online in the right order with proper network configuration. This post explores power-on sequencing, network mapping, VM selection strategies, and non-disruptive testing—transforming disaster …
Read More
It's my favorite time of year again! The Nutanix Technology Champions (NTC) applications for 2026 are now open, and .Next 2026 registration is live. Whether you've been following my blog, or are just coming across it for the first time, I am passionate about both of these opportunities, and I'm excited to share why …
Read More